
Get LiDAR room measurements into CAD software without drafting a single line manually.
If you work in architecture, interior design, or any field that uses CAD software, you know the drill. Before you can start drawing anything in AutoCAD, Revit, SketchUp, or any other design tool, you need accurate measurements of the existing space. And getting those measurements has traditionally been the slowest, most tedious part of the workflow.
The classic approach: show up with a laser distance meter, measure every wall, jot down numbers, sketch a rough plan on paper, go back to the office, and then manually draft the room geometry in your CAD software based on those notes. If you're lucky, your handwriting is legible and you didn't miss any measurements. If you're not lucky, you make a second trip to the site.
LiDAR scanning on iPhone and iPad has fundamentally changed this. Instead of measuring walls one by one and then recreating the geometry manually, you can scan the entire room in 60 seconds and export it as a vector file that your CAD software can import directly. The room geometry goes from physical space to digital file without you ever having to draw it by hand.
ezSpace is built for exactly this workflow. It uses your iPhone or iPad's LiDAR sensor to capture room geometry, then exports it as an SVG -- a standard vector format that AutoCAD and virtually every other CAD and design tool can import. The result is a geometrically accurate floor plan that you can use as a starting point in your design software, rather than a blank canvas you have to fill from scratch.
Let's talk about file formats for a moment, because this matters if you're trying to get room data into professional design software.
SVG (Scalable Vector Graphics) is a vector format. Unlike raster images (JPG, PNG) that store pixels, SVG stores geometric primitives -- lines, curves, points, and shapes defined mathematically. This means an SVG floor plan isn't a picture of a room; it's a set of precisely defined geometric entities representing walls, corners, and dimensions.
This is exactly the kind of data CAD software wants to work with. When you import an SVG into AutoCAD, the wall lines come in as actual vector objects you can select, modify, snap to, and dimension. They're not frozen pixels in a background image -- they're live geometry you can work with just like anything else you'd draw in your CAD environment.
AutoCAD can import SVG files directly. The wall lines from your ezSpace scan become AutoCAD entities that you can manipulate, dimension, and build upon. This is your starting geometry -- the existing conditions of the room -- from which you can begin your design work.
Other CAD and design tools that handle SVG import include SketchUp, Vectorworks, Rhino, Illustrator, Affinity Designer, Figma, and many others. If your software can open an SVG, it can use an ezSpace scan as a starting point. The specific import method varies by application, but SVG is one of the most widely supported vector formats in existence.
What SVG doesn't do: SVG is a 2D vector format. It gives you a floor plan -- the room outline and dimensions viewed from above. It's not a full 3D model. If you need three-dimensional room geometry for your CAD work, ezSpace also exports OBJ files (a universal 3D mesh format) that can be imported into 3D-capable CAD tools. But for the typical workflow of "I need the room's walls in my CAD drawing," SVG is the most direct and useful format.

Here's the complete workflow from standing in a room to having the geometry in your CAD software.
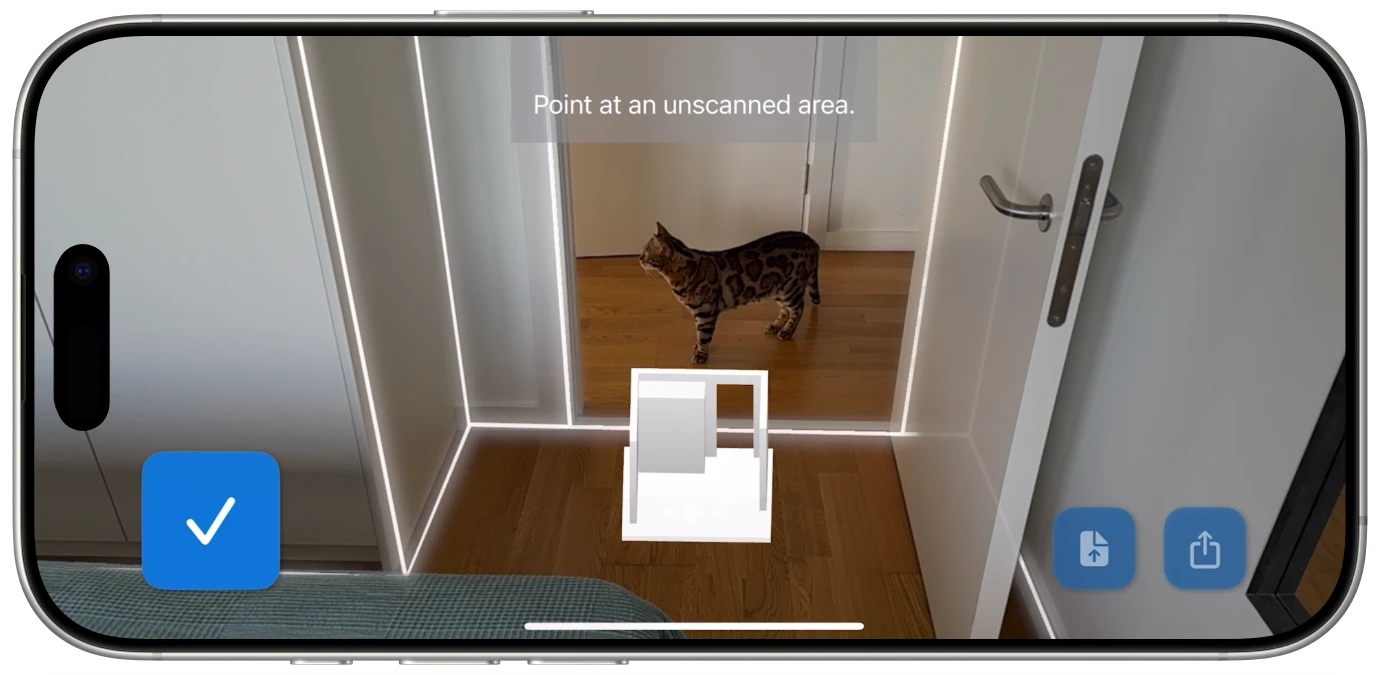
1. Scan the room with ezSpace. Open the app and tap Scan. Walk slowly around the room's perimeter with your iPhone or iPad held at chest height, angled toward the walls. The app shows real-time feedback as it captures walls, corners, and room boundaries. Complete a full loop around the room and tap Done. This takes about 60 seconds.
2. Review the generated floor plan. ezSpace processes the LiDAR data and presents a floor plan with all wall dimensions. Before exporting, verify that the room shape is correct and all walls have been captured. This is your quality check -- it's much easier to re-scan now than to discover a missing wall after you've already started working in AutoCAD.
3. Export as SVG. Select the SVG export option. ezSpace generates a vector file containing the room outline with precise geometry. The SVG preserves the spatial relationships and measurements captured by the LiDAR scan.
4. Transfer the file to your computer. Use the iOS share sheet to get the SVG to your workstation. AirDrop is the fastest option if you're on a Mac. You can also email the file to yourself, save it to iCloud Drive or another cloud service, or transfer it through any file-sharing method you prefer.
5. Import into AutoCAD. In AutoCAD, use the Import function to bring in the SVG file. The wall lines from your scan will appear as vector objects in your drawing. You may need to scale the imported geometry depending on your drawing's unit settings -- verify by checking a known dimension against the measurements from the ezSpace scan.
6. Verify and refine. Once imported, spot-check a few dimensions to confirm accuracy. Snap to the imported wall endpoints, verify angles, and make any minor adjustments needed. The LiDAR scan gives you a strong starting point, but professional work may require fine-tuning specific measurements to match your precision requirements.
7. Build from there. With the existing room geometry in place, you can begin your design work. Add interior elements, partition walls, fixtures, dimensions, annotations -- whatever your project requires. The point is that the basic room outline and proportions are already there, saving you the time and effort of drafting them from scratch.
When the destination is professional design software, scan quality matters more than usual. Here's how to get the best possible geometry from your LiDAR scan.
Clear the room as much as practical. For CAD work, you want clean wall-to-wall geometry. Furniture in the middle of a room is usually fine, but items pushed against walls -- bookcases, filing cabinets, stacked boxes -- can sometimes be interpreted as part of the wall surface by the LiDAR scanner. If you're scanning specifically for CAD import, pulling items a few inches away from the walls gives the scanner a cleaner read on the actual wall surfaces.
Move slowly and deliberately. Speed is the enemy of precision. When you're scanning for a printable floor plan, a quick walk-around is often sufficient. When you're scanning for CAD import, take your time. Walk at a deliberate pace and make sure the real-time feedback shows crisp, continuous wall lines. Pause briefly at each corner to let the scanner get a clean corner reading.
Pay special attention to corners. Corners are where walls meet, and they define the fundamental geometry of the room. In your CAD software, these become the critical intersection points you'll snap to and build from. During the scan, make sure each corner gets a clear reading by pointing directly at it for a moment as you pass.
Scan doorways and windows carefully. Openings in walls are important architectural features. The LiDAR scan captures these as gaps in the wall outline, which translates to breaks in the vector lines when imported into your CAD software. Walk past doorways and window openings at a steady pace so the scanner captures their precise locations and widths.
Watch for reflective surfaces. Large mirrors and floor-to-ceiling glass walls can cause LiDAR reflections that create phantom geometry. If the room has these features, be aware that the scan may show some artifacts around them. These are easy to clean up in your CAD software once imported -- just delete the errant lines.
Scan one room at a time. For CAD work, this is especially important. Each room should be its own scan and its own SVG file. This keeps the geometry clean and makes import management much simpler than trying to untangle a multi-room scan in your CAD environment.
For architects and designers with more specialized workflows, the JSON export opens up possibilities beyond standard SVG import.
What's in the JSON. The JSON export from ezSpace contains the raw room geometry data: wall coordinates, corner points, room dimensions, and spatial metadata. It's structured data that any programming language can parse and transform.
Custom format conversion. If your workflow requires a format that ezSpace doesn't export natively -- say you need a specific DXF configuration, an IFC file, or a custom XML schema for your firm's internal tools -- you can write a script that reads the JSON and generates whatever output format you need. The geometric data is all there; you just need to write the conversion logic.
Integration with automation tools. If you use Grasshopper, Dynamo, or custom Python scripts in your design workflow, the JSON data can feed directly into those pipelines. Parse the JSON, extract the wall coordinates, and programmatically generate your CAD geometry with whatever additional transformations or metadata your process requires.
Batch processing. If you're scanning an entire building -- dozens of rooms -- the JSON files can be processed programmatically. Write a script that reads all the JSON files in a folder and generates AutoCAD-ready files for each one, with consistent layer naming, dimension styles, and title block information. This turns a tedious manual process into an automated one.
Re-export anytime. JSON files can be reopened in ezSpace to export any of the other five formats. Scanned a room six months ago and now need an OBJ for a rendering pipeline? Open the JSON, export OBJ, done. The JSON file is your master record -- save it for everything.

Once the SVG is in AutoCAD, here are some practical tips for making the most of it.
Check your scale first. After importing the SVG, measure a wall in AutoCAD and compare it to the dimension shown in ezSpace. If the numbers match, you're good to go. If they're off by a consistent factor, you may need to scale the imported geometry. This is a one-time adjustment -- once the scale is set, all the proportions are correct.
Move the geometry to the right layer. Imported SVG objects might come in on a default layer. Select all the imported wall geometry and move it to an "Existing Walls" or "Survey" layer. This keeps your drawing organized as you add new design elements on separate layers.
Snap to the imported endpoints. The wall endpoints from the scan become your reference points for all subsequent drafting. Use object snaps (endpoints, intersections, midpoints) to anchor new geometry to the scanned room outline. This ensures your design work aligns precisely with the physical space.
Add your professional dimensions. While ezSpace labels wall measurements in its exports, you'll likely want to add formal AutoCAD dimensions with your standard dimension styles, tolerances, and formatting. Use the imported endpoints as dimension reference points.
Treat it as a starting point, not a finished product. The LiDAR scan gives you a solid representation of the room geometry that eliminates the need to draft it from scratch. But professional architectural and design drawings require additional detail -- wall thicknesses, material hatches, fixture locations, annotations, title blocks, and more. The scan saves you the foundational drafting step so you can focus on the design work that requires your expertise.
AutoCAD is the most common destination for architectural floor plans, but it's far from the only one. Here's how the SVG export works with other popular design tools.
SketchUp. SketchUp can import SVG files as 2D geometry, which you can then push/pull into 3D walls. This is a fast way to go from a LiDAR room scan to a 3D SketchUp model. Alternatively, use the OBJ export from ezSpace for direct 3D geometry import.
Vectorworks. Vectorworks handles SVG imports natively. The wall geometry comes in as vector objects that you can convert to Vectorworks wall objects with assigned thicknesses and materials.
Rhino. Rhino's SVG import brings in clean vector geometry that integrates with its NURBS modeling environment. For 3D work in Rhino, the OBJ export may be more useful as a starting point.
Illustrator and Affinity Designer. If you need the floor plan for presentation graphics rather than construction documents, the SVG imports into vector illustration tools perfectly. Scale it, style it, add colors and annotations for client presentations.
Figma. For digital presentations and collaborative design, Figma's SVG import lets you drop a floor plan directly into your design files. Useful for interior design mood boards, furniture layout explorations, and client presentations.
Blender. For rendering and visualization, Blender can import both the SVG (as 2D curves) and the OBJ (as 3D mesh). The OBJ export is generally more useful for Blender workflows since it provides the three-dimensional room geometry directly.
The common thread: SVG is a universal vector format. If your design tool can open SVG files -- and most can -- then it can use an ezSpace room scan as a starting point.

Scan a room. Export the vectors. Start designing.
